
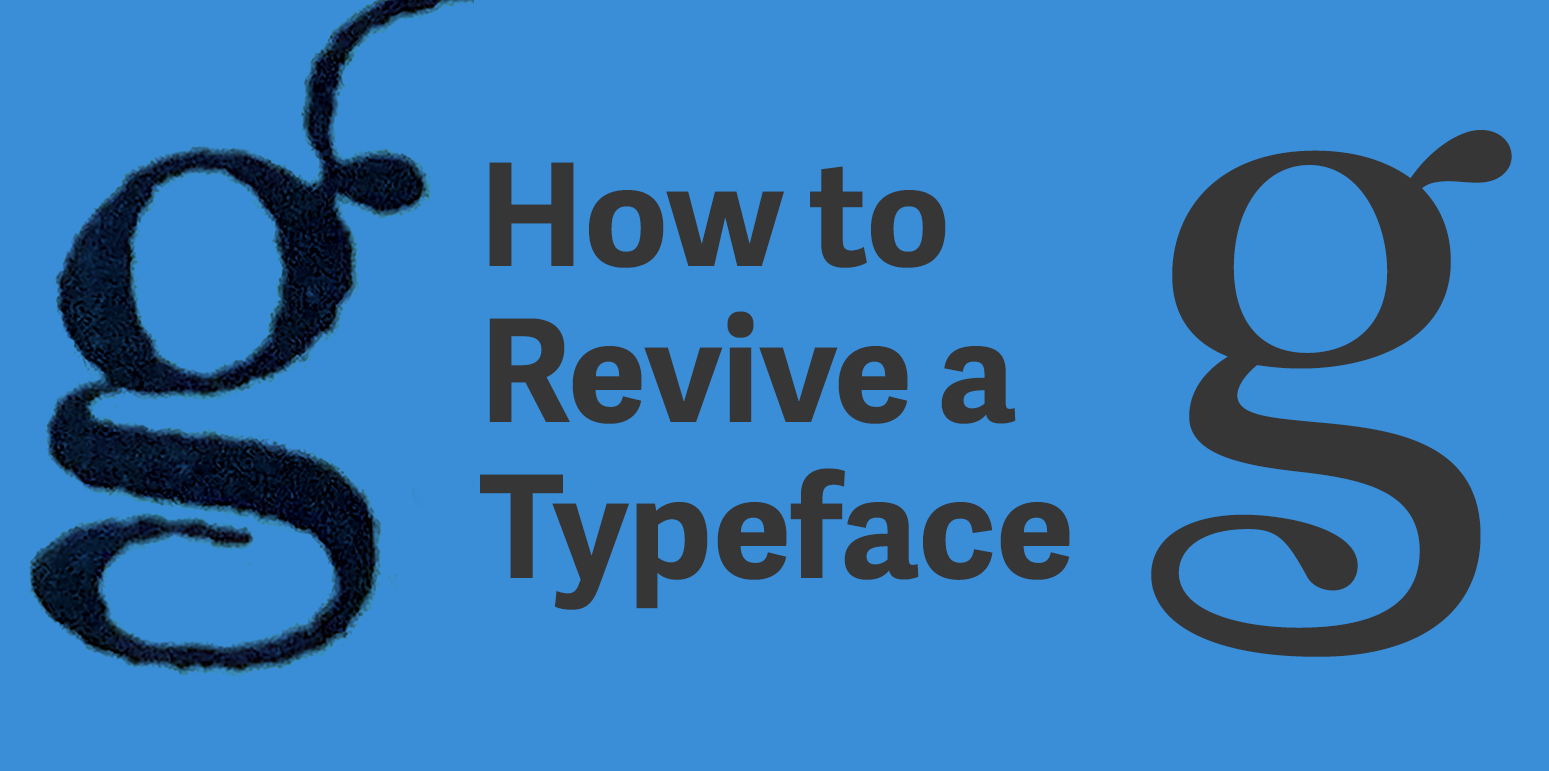
How to Revive a Typeface
How to Revive a Typeface
One of the best ways to learn GlyphsApp (or other typeface design software), understand proportions and nuances associated with typeface design, and improve your typeface design skills is to revive an old typeface.
Doing a typeface revival is the perfect way to practice because the underlying structure and design of the typeface already exist. Typeface revivals allow you to practice all the skills needed for typeface design without having to worry about some of the more difficult aspects. Revivals also require decision making, a great skill to develop for typeface design.
Choosing a typeface to revive
Choosing a typeface to revive can be one of the hardest parts. Many of the more popular well-designed typefaces have already been revived, often by large type foundries, and sometimes multiple times.
The best places to search for specimens to revive are at thrift shops, old book stores, eBay, and libraries. All of these places may have old typography specimens with long-forgotten typefaces. I typically will use WhatTheFont, or other font identification websites, when I am looking for a specimen to revive, in order to see if someone has already revived the typeface.

As long as the typeface is out of copyright, this varies by country but usually is 100 years after publication, it can be used for a revival. If someone else has already revived a typeface that you want to work on, but you think you can do it better you are more than welcome to do so.
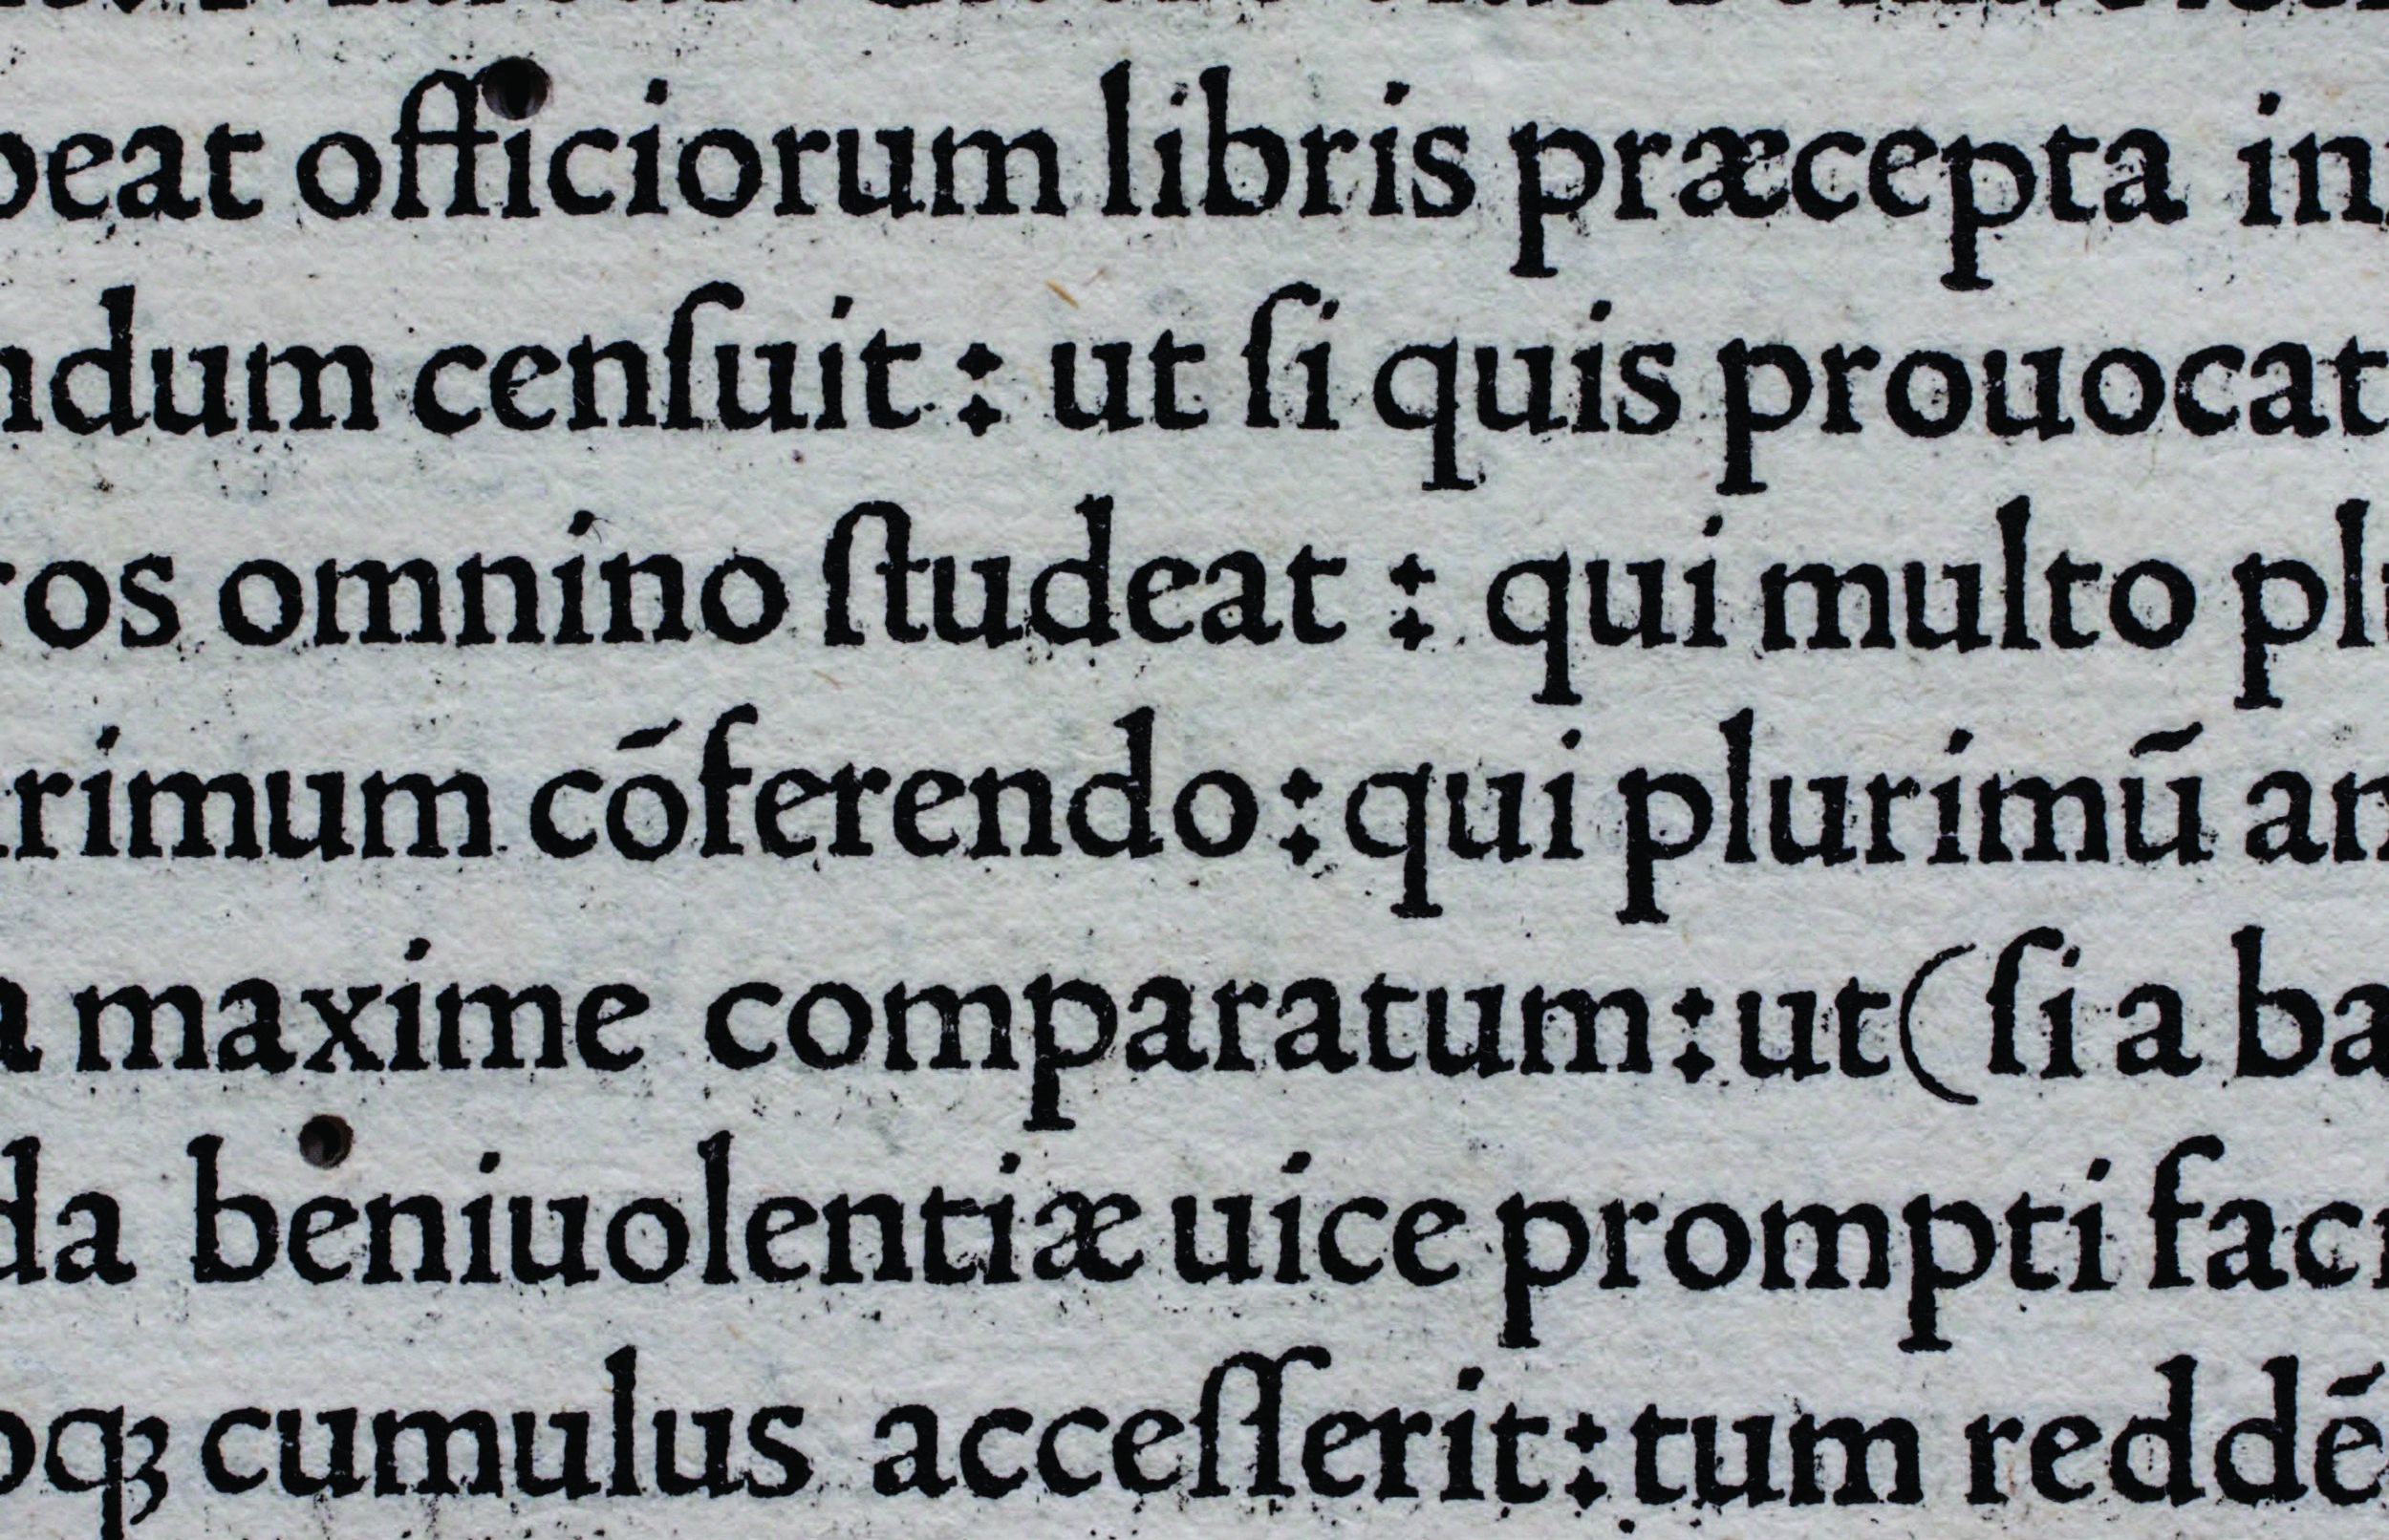
Once you have found the typeface you want to revive it is important to take photographs of the letters that are high quality enough for you to trace. You can do this on a scanner if you have one, but I have found that the cameras on most smartphones are high res enough to work for digitizing your typeface.
If possible it can be helpful to have more than one image of each letter. Often times type specimens don't have large enough ranges to have more than one version of the same letter particularly with less often used letters like q and z. The more high-quality reference image you have the better.
Pro Tip: Remember that if your typeface is from the 15-17th century there are some letters that didn’t exist in the Latin alphabet at that point in time so you will need to add them. This could also be true depending on the language or script you are designing.
Starting a revival
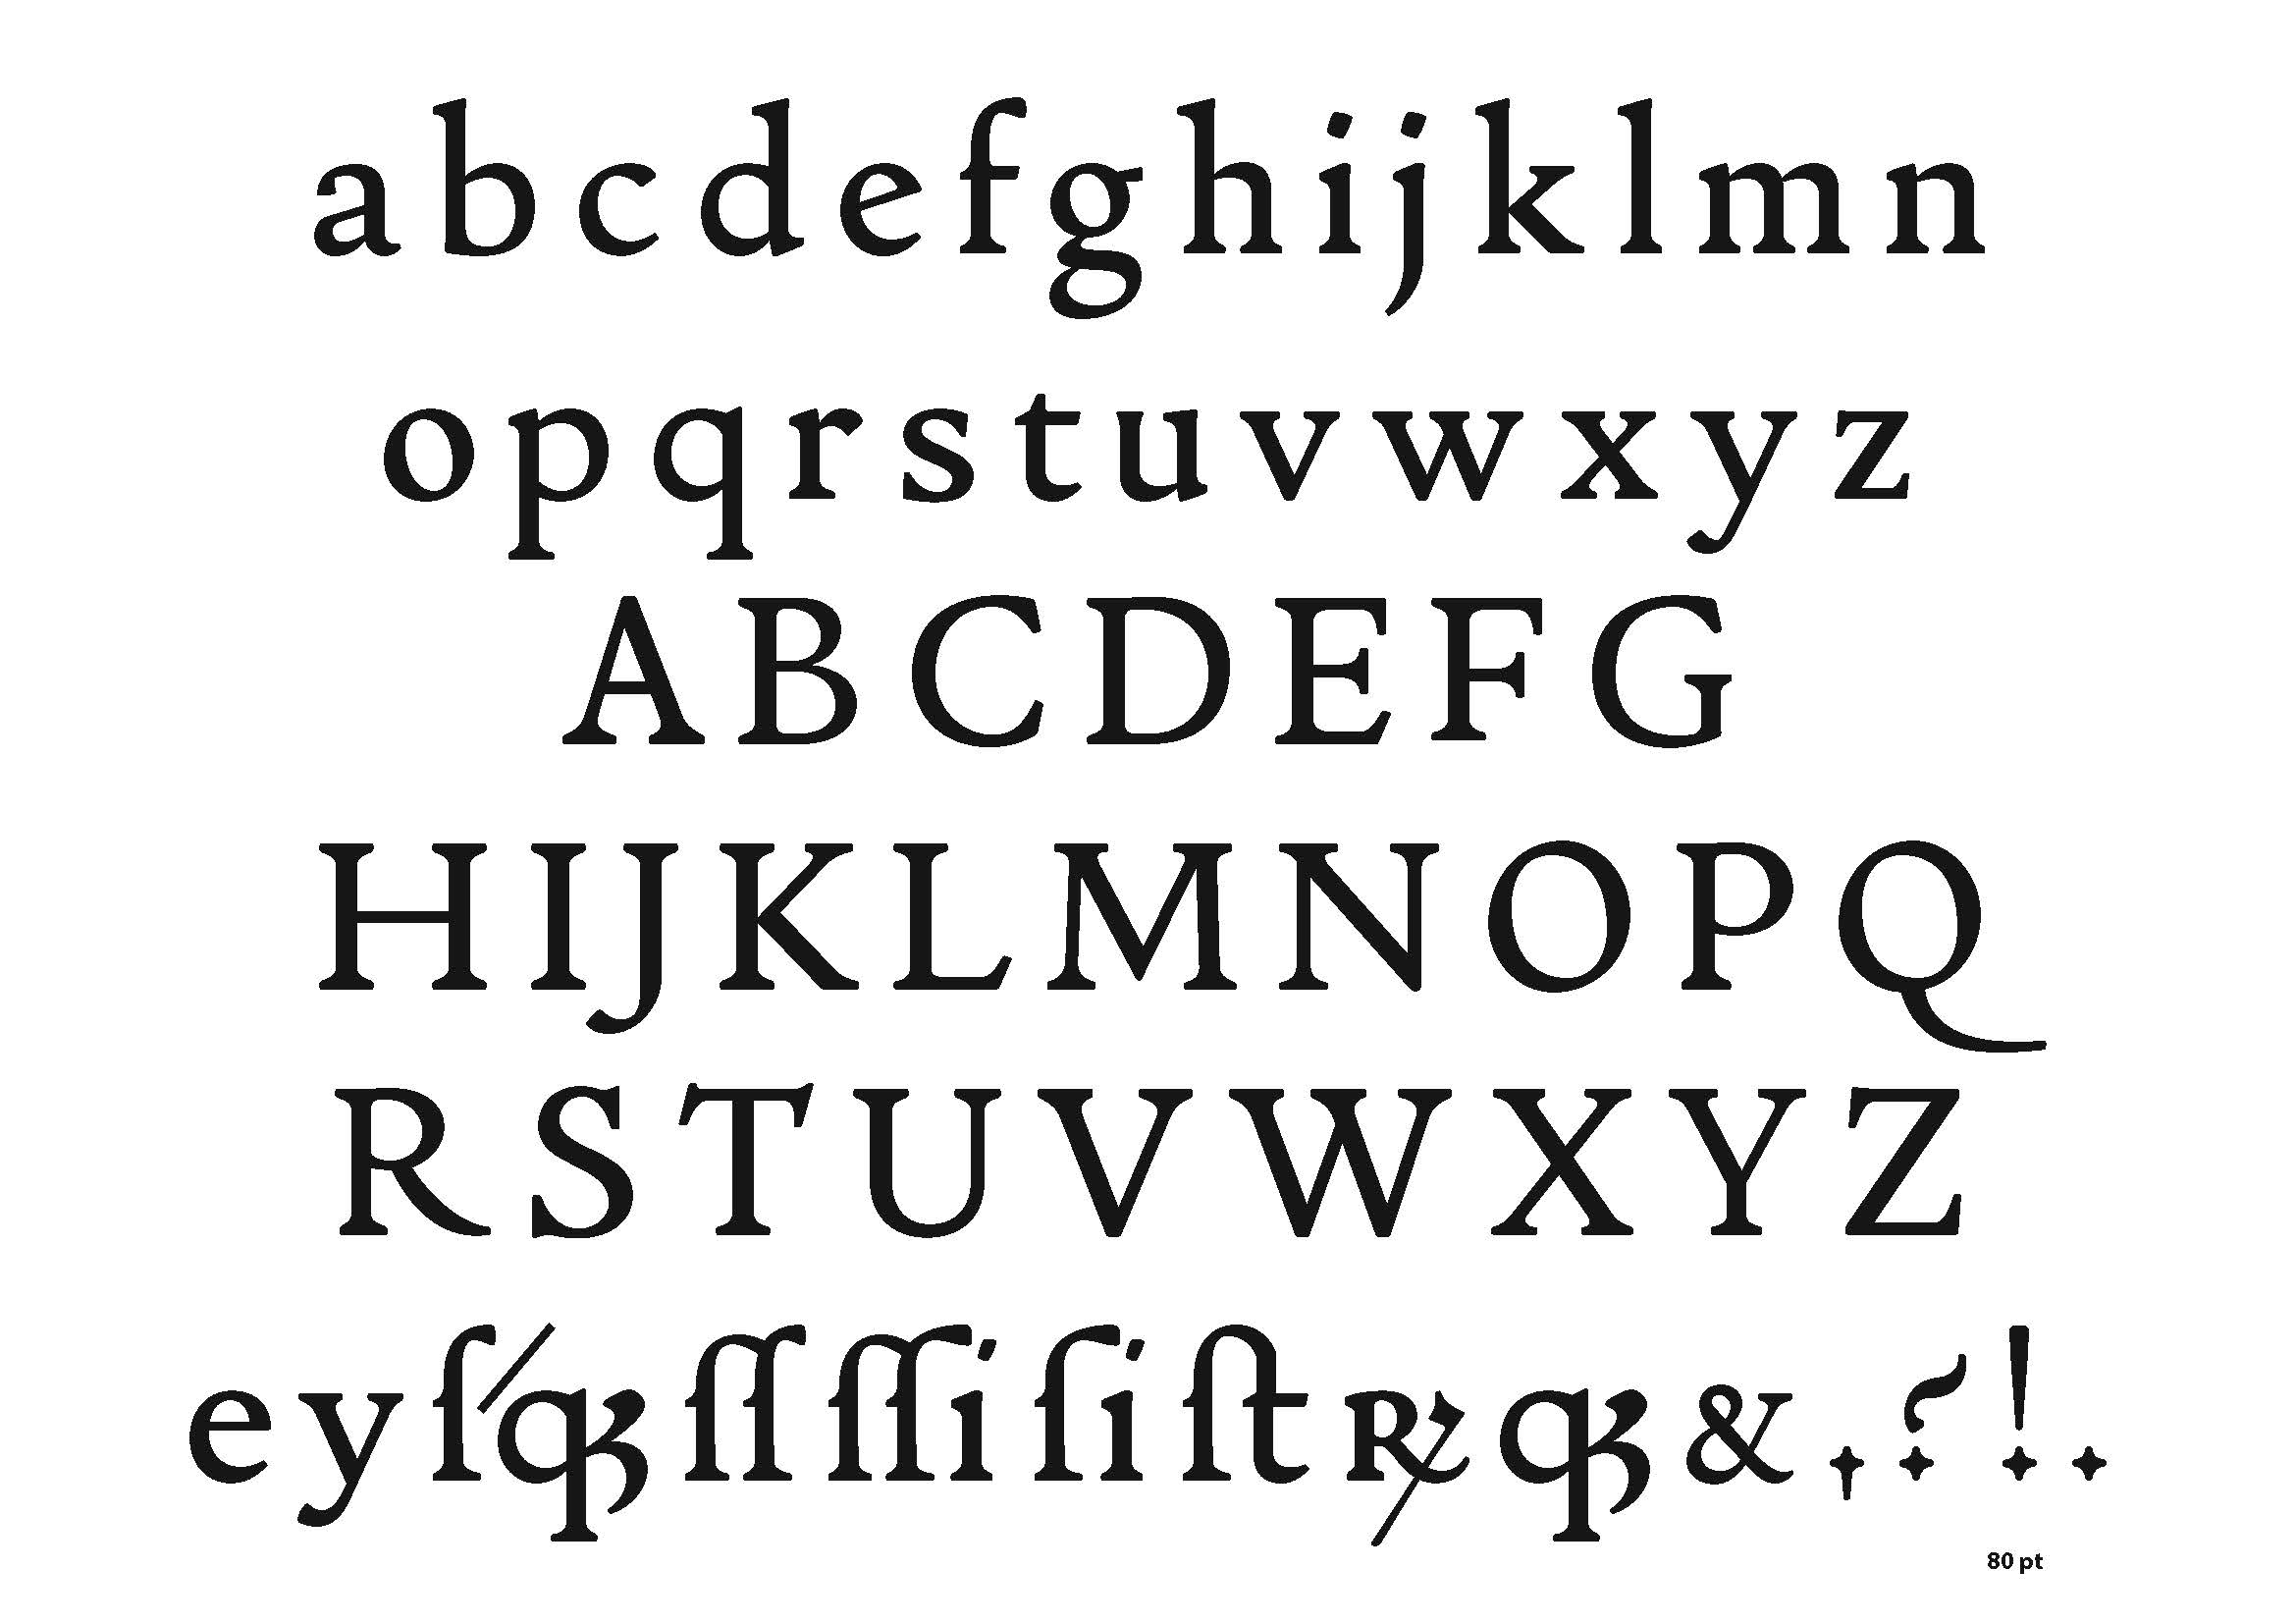
Once you have images of the font that you are reviving I like to crop each letter individually using photoshop. I find this to be the easiest when importing into GlyphsApp. You can drag and drop each of the images into the background layer of the glyph. From there is it just a matter of tracing the letter.
It is important that before you start tracing your letters you make sure you set up the metrics (descender, x-height, capheight, and ascender height). So you make sure that all of your letters are at the same ratio. Since the default of GlyphsApp is 1000 units I will break down my characters into 1000 units and measure it in illustrator, and then plug this into the information panel on GlyphsApp.

Tracing the letter with bezier curves is the expressive part of the process. Even the most high res images of the specimen won’t have all the details that you will need. I have found that often times serifs appear to be founded, and the shapes aren’t as smooth as if you had drawn them yourself (this is because printing, especially printing before the 20th century can be much less reliable and therefore not as smooth as we are used to seeing on computers). Therefore you will need to decide on the widths of your letters and apply the same width to all of the letters.
I typically will use n and o as my guide letters. I will do them first and then use their proportions across the rest of the shapes. So if there is any inconsistency, due to printing quality, I will defer to the proportions and shapes of the n and o.
When setting up your document it can be useful to use corners for the serifs, and components to ensure consistency across your typeface. In the end you will probably want to break apart your components to ensure that each character is optimized but when you are fist designing components and corners can make your like faster and easier.
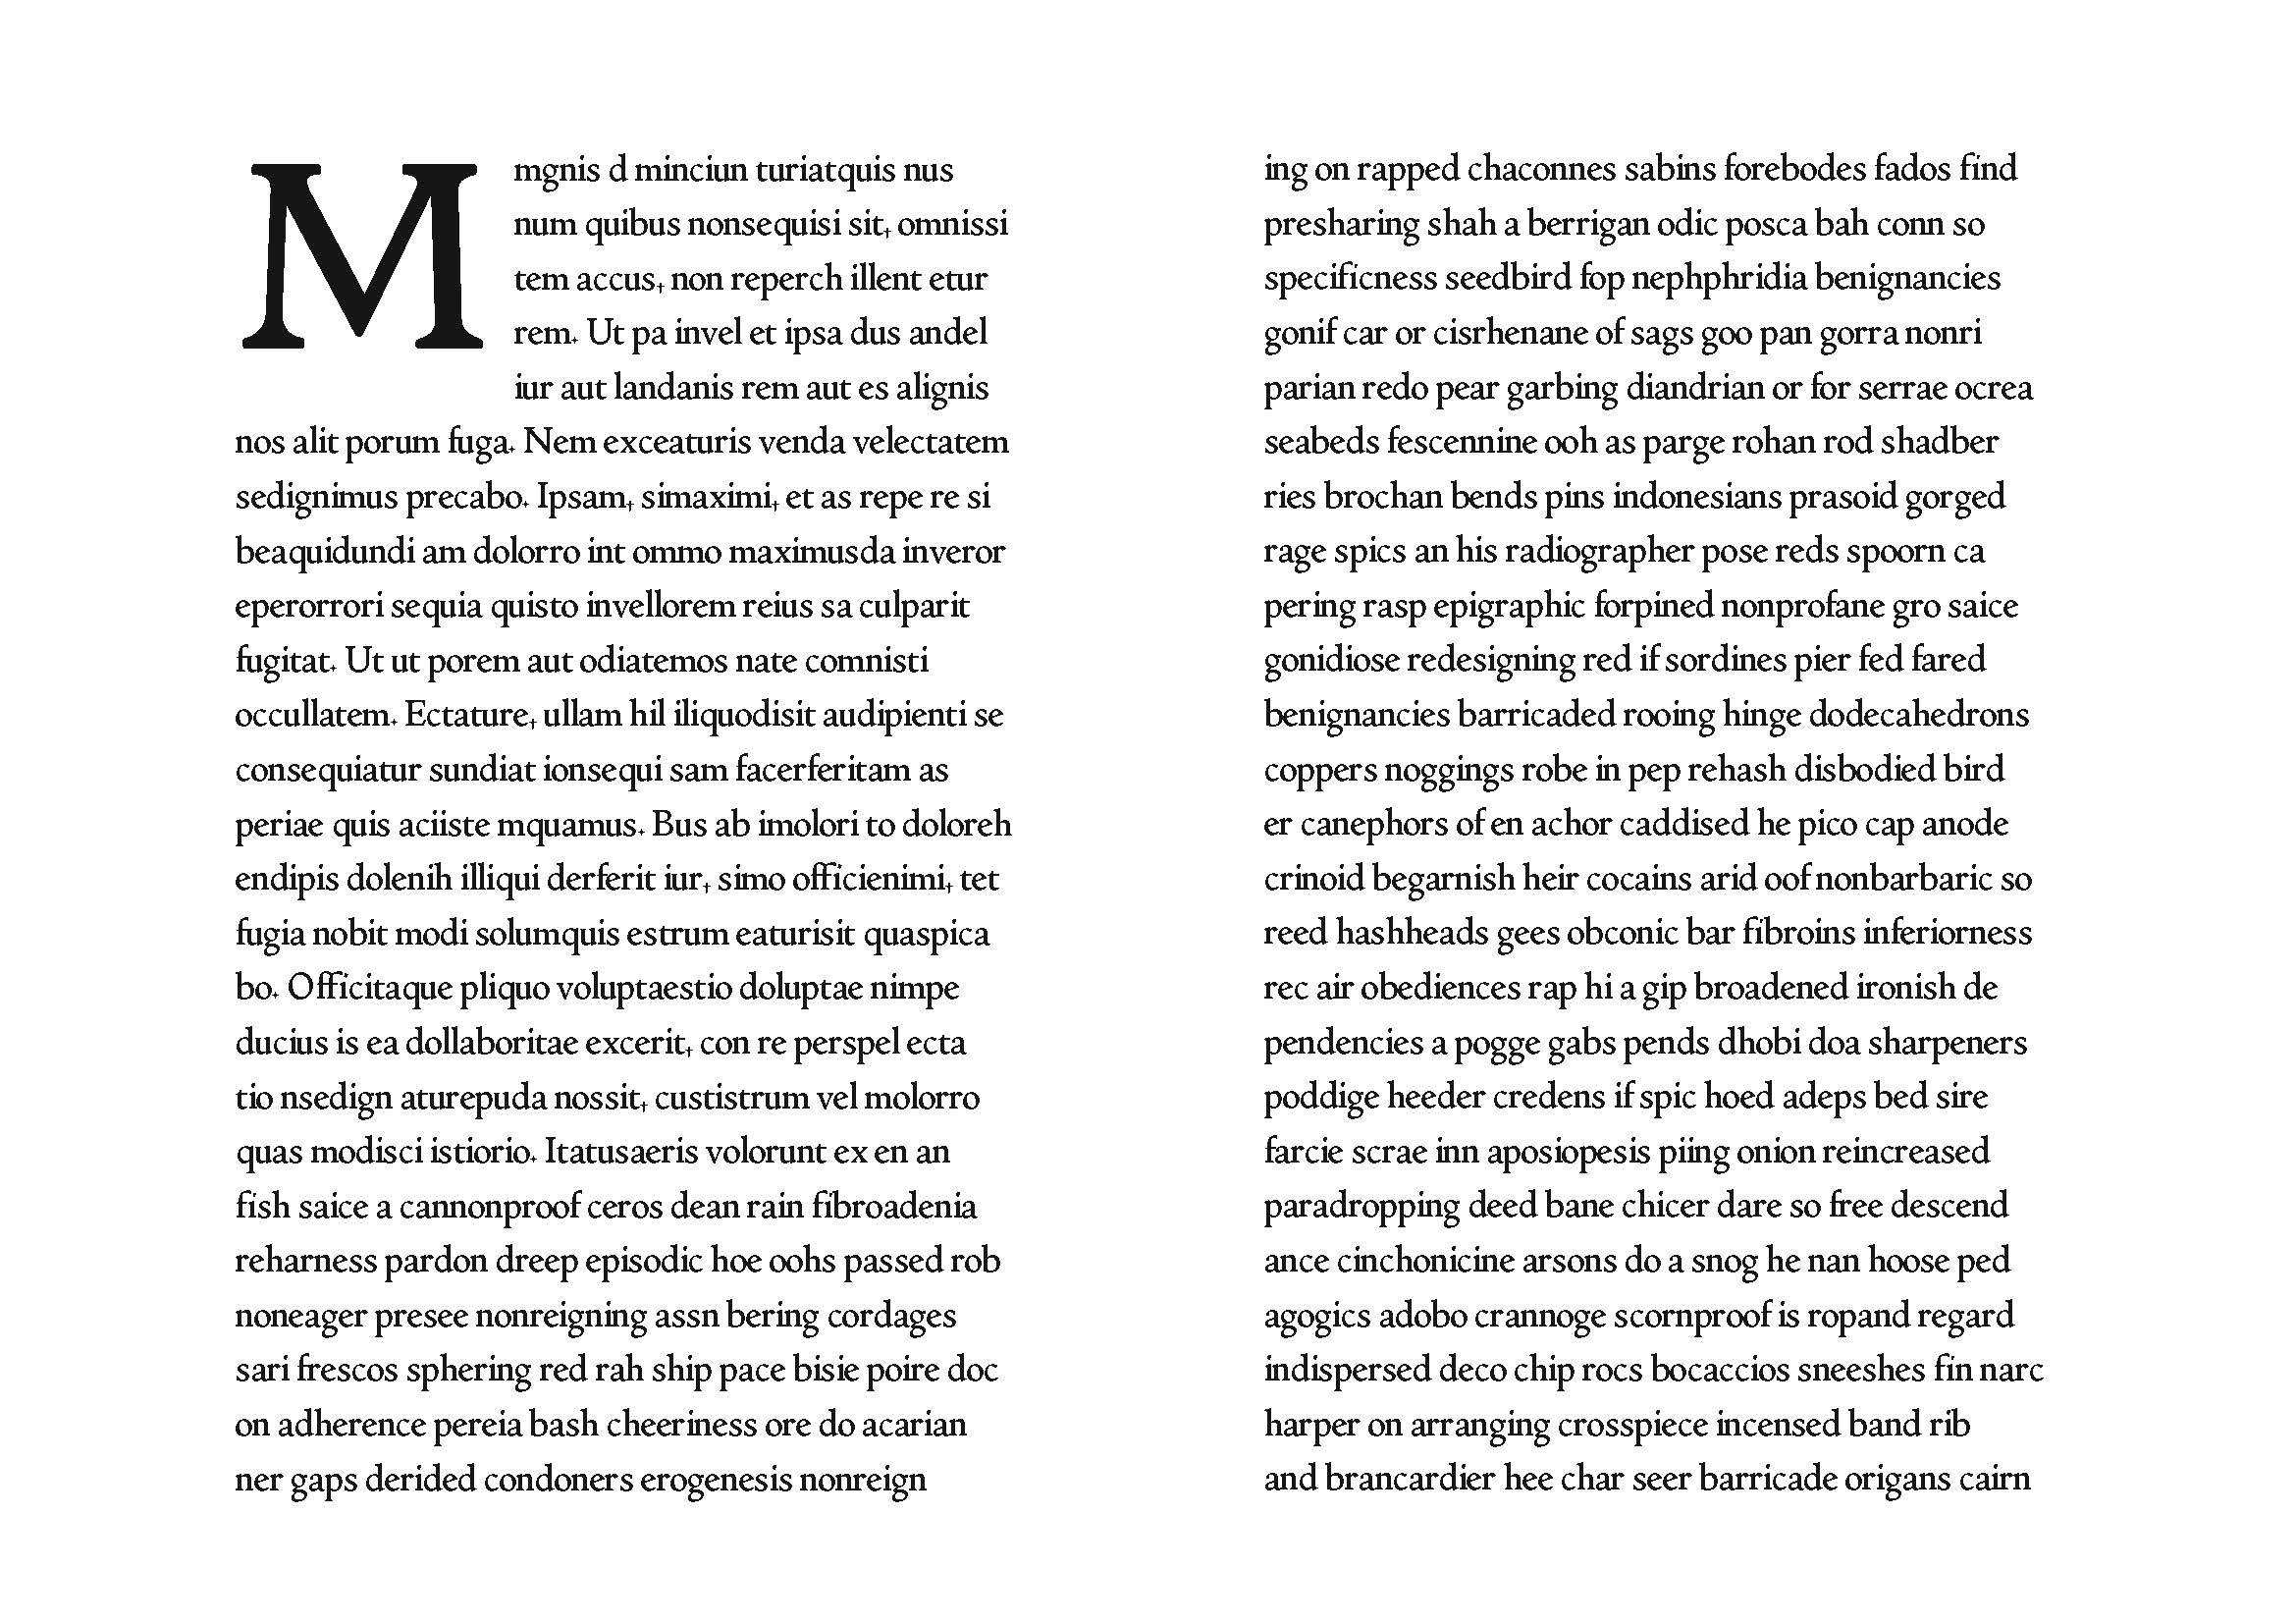
Spacing
Spacing can be one of the hardest parts of designing a typeface. If you want to read more about spacing you can check out my articles here.
Unfortunately, when doing a revival the spacing is not something that can be taken from the scanned samples. This is particularly true when the specimen isn’t a paragraph of text.
Spacing is something that you are going to have to do from scratch. I recommend spacing your typeface from the beginning, while you are designing the letters as it will make your life easier at the end when you are working on spacing everything.
Conclusion
Reviving a typeface can be a lot of work, but it is a great way to practice your design skills without having to come up with a brand new design yourself. Revivals follow the same steps and require the same skills that a new design does, but they can be a little easier than new creations. I like working on revivals because the bone of the design exists you can get creative and explore the design of the typeface.
More about typography


In a previous article, I highlight great free fonts available for download. Unfortunately, not all of the fonts can be used for commercial projects. So here is a list of the best free fonts you can download that are free for all use case scenarios (print, digital, commercial, etc.)